Car Drawing
Two wheels first, then one box laid over them — that is the whole of car drawing, and everything else is detail on top.
A car is not a hard thing to draw. It only looks that way because of where people start. Draw the outline first — the roof, the bonnet, the sweeping line along the side — and you are drawing a shape that has no reason to sit on the ground, so the wheels end up stuck on afterwards, in whatever size and position is left over. Draw in the other order and the same hand produces something recognisable in about five minutes. Car drawing is really a question of sequence, and the sequence is short.
So the order is this: wheels first, at their finished size, both of them, sitting on a line that is your road. Then the body as a single low box across the top of them. Then the nose and the tail. Then the windows, the lights and the wheel arches. That is it. Every one of those five stages is one decision, and if you make the first two properly you can barely get the rest wrong.
If you looked up how to draw a car and found yourself three paragraphs into a tutorial about vanishing points, this is the version you actually wanted. The wheels do the perspective work for you — two ellipses drawn at the right spacing plus a road line is a car in three-quarter view, and one ellipse plus a flat box is a car straight from the side. You do not need to construct a horizon, and you do not need to know where the vanishing point is.
Easy car drawing is not a different method, it is the same method with the small decisions taken out: no windows, no lights, no shading, and a box that is a plain rectangle instead of a curved one. A simple car drawing is two circles and a rectangle, correctly proportioned. The proportion is the part that matters, and it is the part every quick tutorial skips.
The style you pick changes three things and nothing else — how round the box is, how big the wheels look against the body, and whether the edges stay as clean lines or get a second pass. A cartoon car drawing squares off the roof and exaggerates the wheels; a generous pair of wheels and a short body is what makes a cute car drawing read as cute rather than as a van; a realistic car drawing keeps the box low and adds a long curve along the flank where the light would fall; a car sketch is the same drawing left unfinished, with the construction lines still showing.
One note on the vehicles themselves, because it trips people up. The shape you end up with is decided almost entirely by how the box is cut, not by the details you add. Stretch the box and cut a small separate cabin at the front and you have a truck. Keep one long box, raise the roof and line the side with windows and you have a bus. Lower the box until it is barely a wedge sitting between the wheels and you have a race car drawing before you have drawn a single sticker, spoiler or number.
How to Draw a Car in 5 Steps
Five stages, and the first two decide all the rest. Work lightly for now — every line in steps 1 and 2 is construction and gets erased at the end.
-
Draw the two wheels first
Two circles, the same size, sitting on a light horizontal line that is your road. Their centres go at roughly a quarter and three quarters of the car's total length, which puts a little more than one wheel's width of space between them. Make the diameter about a third of the height you want the car to be — that single ratio is what stops the finished drawing from looking like a toy or like a truck. Draw both circles completely, including the parts that will later be hidden behind the body: you need the full shape to judge the spacing, and erasing half a circle now only makes it harder to see whether the two are the same size.
-
Draw the body over them
A long, low box lying across the two wheels. Its lower edge runs just clear of the ground line — not touching it, and not floating high above it either — and it arches up and over each wheel in a shallow curve rather than cutting straight through the tyres. The top edge runs flat and level, and it is a little shorter than the bottom one, so both ends of the body taper in slightly. Keep the whole thing low: a car body is about two and a half wheels tall, and if your box comes out taller than that you are drawing a van. Nothing in this step is permanent. It is scaffolding, and the next three steps cut it into shape.
-
Shape the nose and the tail
What tells the eye which car this is, is how far the body reaches past each wheel. A short nose and a short tail is a hatchback or a van; a long nose with the windscreen set well back is an older car, or something sporty. Begin by taking the nose out past the front wheel by about half a wheel's width, then round the leading corner down so that the front is not a right angle. At the back, take the tail out by a little less than the nose, and drop it almost vertically — slope it gently outward instead if you want an estate or a saloon. Keep both ends shorter than feels right. A bonnet long enough to belong to a limousine is the commonest way a car drawing goes wrong at this stage, and it is much harder to shorten a nose than to lengthen one.
-
Add the wheel arches, the windows and the lights
Start with the arches, because they are what turns a box with circles under it into a car. Each one is a half-circle sitting on a wheel centre, wide enough to clear the tyre by a small, even margin all the way round. Draw them a touch generous — an arch that grips the wheel makes the drawing look like it is sinking. Then the glazing: run one band of windows from the windscreen to the rear of the body, at roughly a third of its height, and divide that band where the pillars would be. One division is enough on a side view, two if the car is long. Slant the front of the band back a little, since glass has not sat vertically on anything modern. Finish with the lights — a small flattened oval or rounded rectangle at each front corner, never a circle, and a slimmer pair at the back.
-
Clean up and give it some weight
Erase every construction line now: the road line, the parts of the wheels that sit behind the body, and whatever is left of the original box that the arches, the nose and the glazing have made redundant. Then go over the outline that remains with a heavier line — but do not give every edge the same weight. The line along the bottom of the body should be the heaviest, the line along the roof the lightest, and the arches somewhere between the two. That difference on its own reads as light falling on a solid object, and it costs nothing. Last, put the car on the ground: a soft flat shadow under each visible wheel, and a longer, lighter one trailing back along the road line. If you want one more thing, draw a second, thinner line inside the flank, following the same curve as the body — that is where light catches a real car, and it does more than any amount of shading.
Easy Vehicles to Draw
Everything above is one method — two wheels, then one box — and it still holds when the vehicle changes, because what changes is the box and the wheel spacing, not the order of the work. The five below are the ones people ask for most, and each is a small edit to the same drawing: cut the box into two and you have a truck, stretch it and fill it with windows and you have a bus, lengthen everything and drop the body low over small wheels and you have a train. The last two break the pattern and need their wheels handled differently, which is exactly why they come after the car rather than before it.
Truck
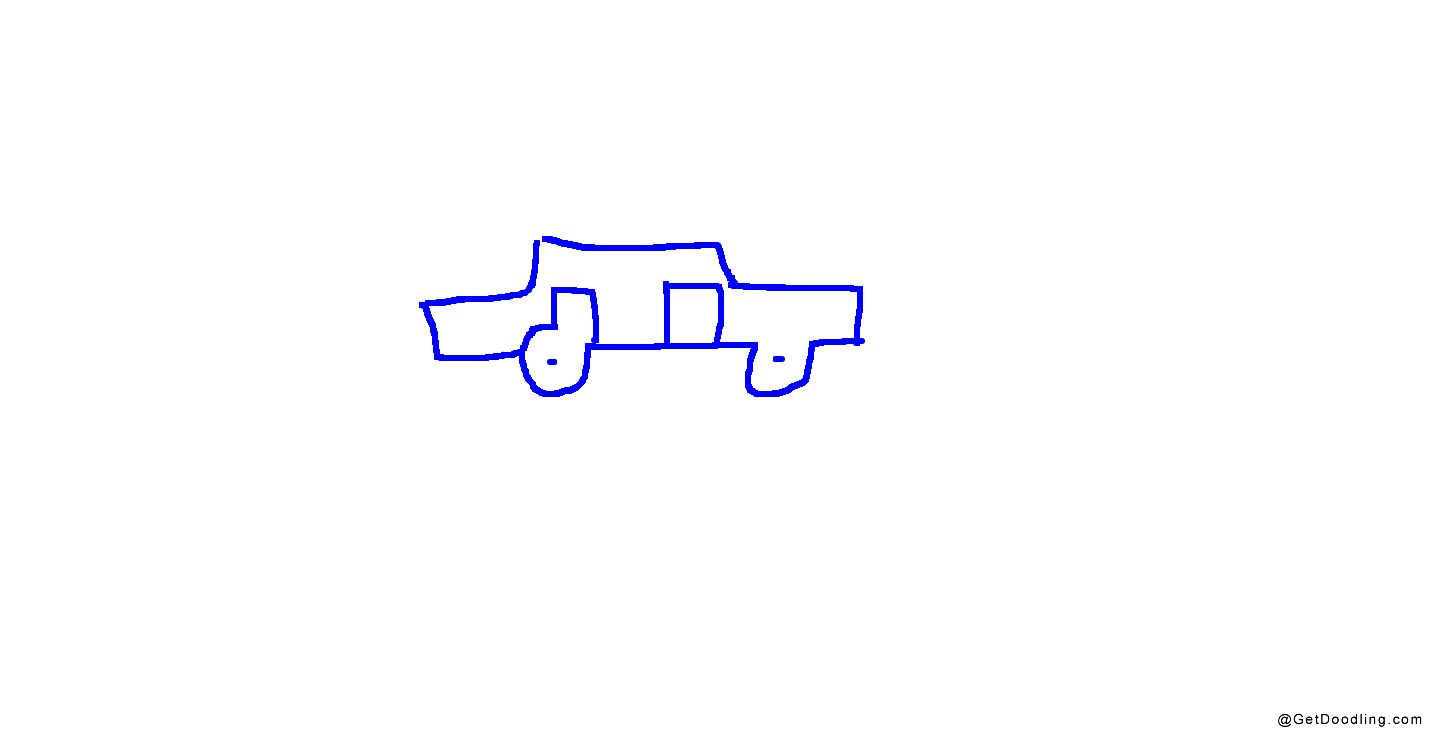
Two boxes, not one, and the visible gap between them is what makes it read as a truck rather than a long car. Draw the cab first — a tall box sitting over the front wheel, with a windscreen slanted back and a flat vertical face at the very front — then the trailer or load bed behind it, longer than the cab and a little taller, its lower edge dead level and its rear end flat. Leave the gap open, or put a short connecting bar across it. The wheels are bigger than a car's and there are usually more of them: keep one pair under the cab and put two pairs close together at the back of the trailer. A bonneted truck (a nose sticking out ahead of the windscreen) and a cab-over (windscreen right at the front edge) are the same drawing with the cab slid forward or back along the chassis. Carry on in that direction and you get a fire truck or a monster truck — same two boxes, longer chassis, wheels drawn far larger than life.
Bus
One box, and the pattern is all in the windows. Start with a long rectangle, sitting a little higher off the ground than a car, with the roof line running flat and level from end to end — a bus has no bonnet, so the front face is essentially vertical. The glazing takes up almost the whole upper half: draw it as one continuous band divided into even sections, and keep those divisions the same width, because on a bus the repetition is the character. Then wheels at the very corners, as close to the ends as the arches allow, which is what keeps a long body looking like it can turn. Small overhangs, big windows, flat roof: get those three and nobody will mistake it for a van.
Train
A long horizontal box with a wedge at the front. For anything modern, draw the body first, then slope the roof line down into the nose instead of leaving a flat vertical face, and round the lower edge of that nose back toward the track. A row of windows at eye height, a narrow undercarriage strip below the body, and small wheels — smaller than a car's, and more of them — sitting on a straight rail line. Add the rail line even if you draw nothing else around it, because a train floating without one reads as a bus. For a steam train the silhouette is different enough to be almost a separate drawing: a cylindrical boiler along the top, a chimney near the front, a cab at the back, three large wheels under the boiler and a small pair under the cab.
Bicycle
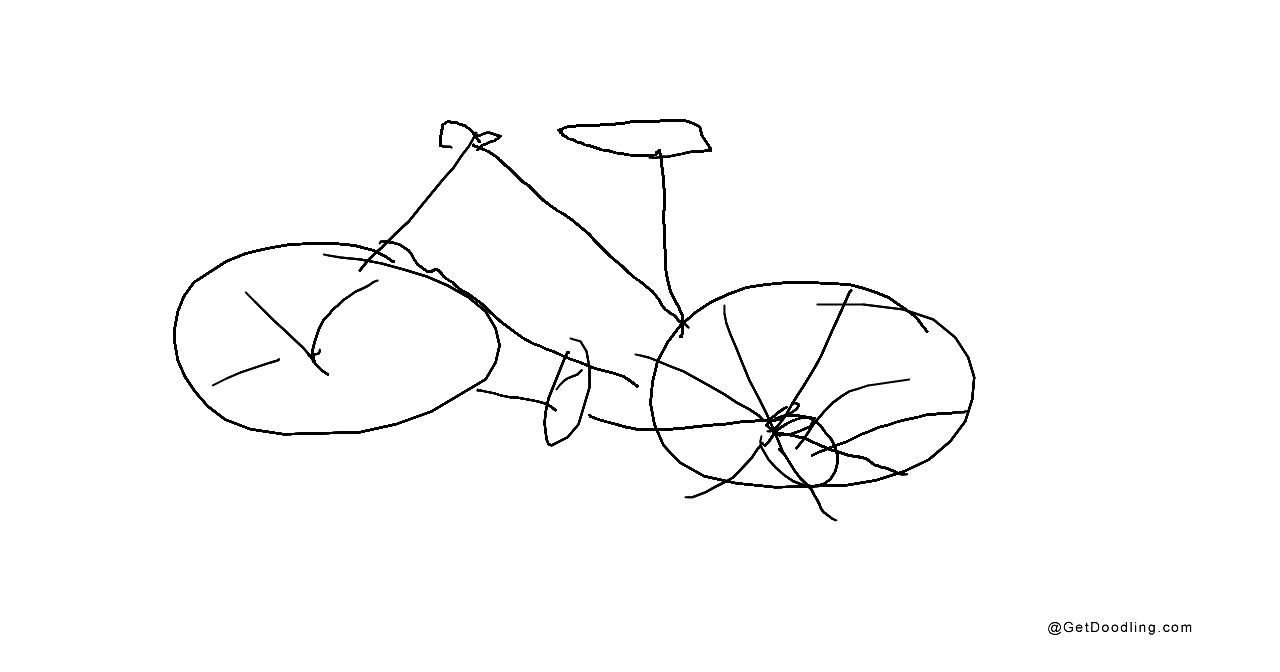
Drop the box entirely — a bicycle is two circles and a set of straight tubes, and every line in it is thin. Draw the two wheels first, identical in size, set apart by about one and a half wheel diameters. Then the frame as a rough diamond stretched between them: a line from the rear wheel centre up to the seat, one from the seat forward and down to the pedals, one from the pedals back to the rear wheel centre, and one from the seat forward to the top of the fork. The pedals sit in a small circle between the two wheels, roughly a third of the way from the back. The fork is a single straight line from the handlebar down to the front wheel centre, and the handlebar is a short bar across the top of it. Keep the wheels true circles and every tube a single clean stroke; the whole drawing lives in the proportions, not in the detail.
Motorcycle
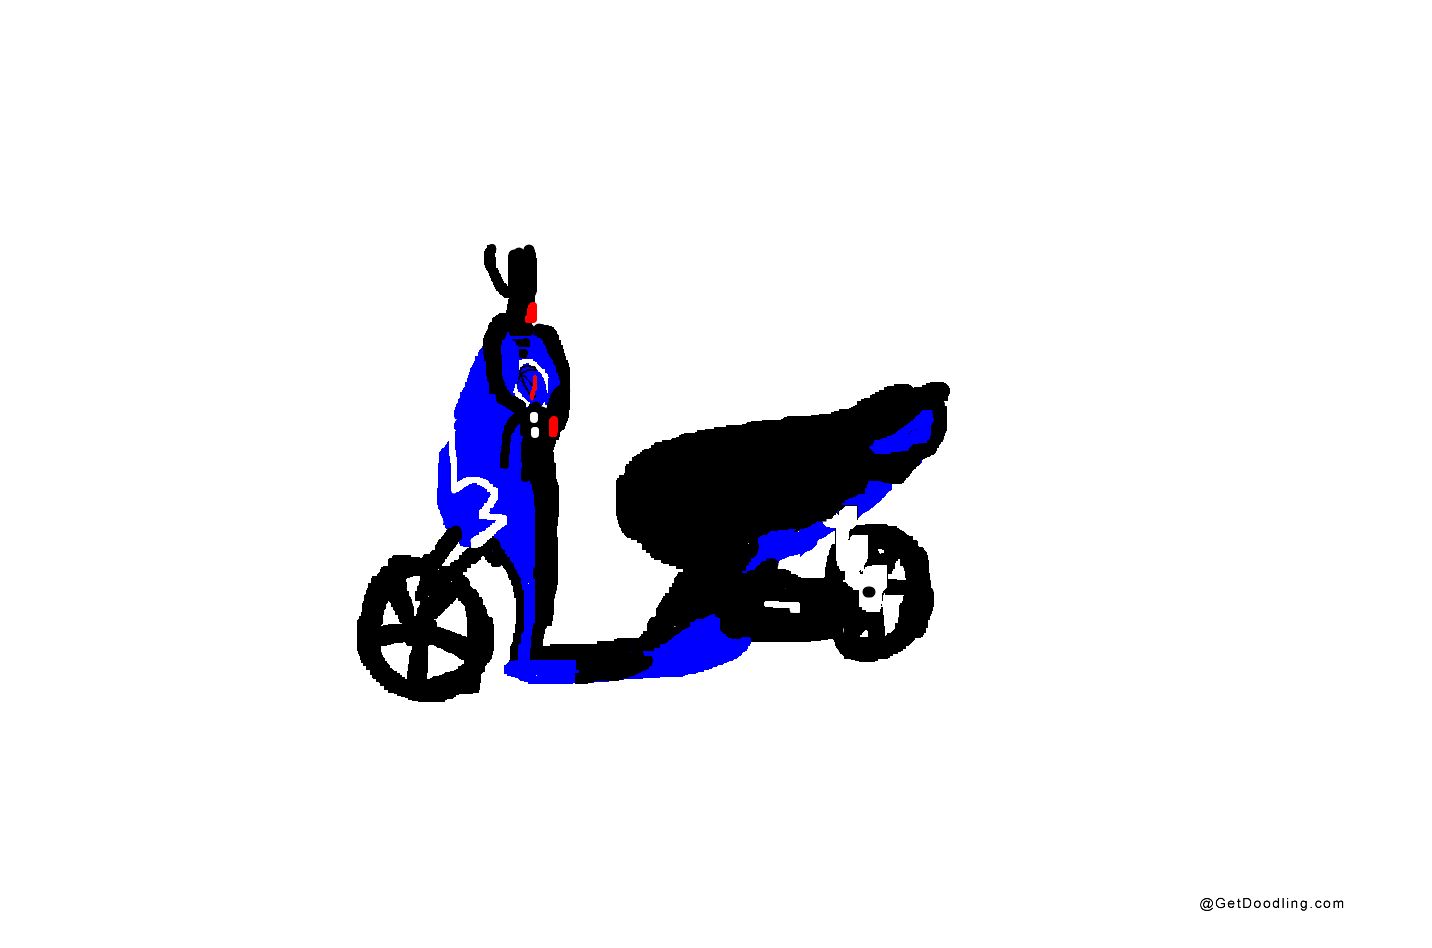
Two wheels, close together, with nearly all of the machine between them rather than above them. Draw the wheels first and make them large — a motorcycle's wheels take up far more of its height than a car's do — and keep the gap between them short. Then the engine as a compact rounded block filling the space between the wheels, sitting low, with the fuel tank as a shallow hump on top of it sloping down toward the back. The seat is a flat line behind the tank, ending before the rear wheel, and the tail lifts very slightly. The fork runs from the handlebar down to the front axle, angled back at about twenty degrees, with the bars crossing it at the top. Add an exhaust as a long low shape along the near side if you want it to look like a machine rather than a toy.
Draw any two of these side by side and the sameness shows: the wheels land in the same relationship to the body every time, and the body is the only thing that has changed. That is why one afternoon with a car teaches you most of the rest of the list.
Car Drawing Tips
Everything below is small, and most of it comes down to two decisions you make before you draw a line: how big the wheels are and how much body sits above them. Get those right and the rest is polish.
The wheels set every other proportion
The diameter of a wheel is the ruler for the whole drawing. Set it at roughly a third of the finished height and almost nothing else can go badly wrong: the body sits about two and a half wheels tall, the arches clear the tyres by a small, even margin, and the windows land in the band between the tops of the wheels and the roof. Change that one ratio and the car turns into something else — a smaller wheel under the same body and you are drawing an estate sagging under luggage, a bigger one and you are drawing a toy. Decide the diameter first, and measure everything after it against that rather than against the page.
Draw the side view before you attempt three-quarters
A car from the side is two circles and a box, and every proportion in it can be checked by eye. Three-quarters needs the near wheel as a full ellipse, the far one as a thinner ellipse, the body tapered at the rear, and those two ellipses consistent with each other — and if you cannot yet get the side view right, a second vanishing direction only adds places to go wrong. So draw the side first, several times, until the spacing is automatic, then rotate the same shape in your head and notice how little actually changes. When people look up how to draw a car, this is almost always the missing step: they have the details and no base to hang them on.
The roofline is what tells people which car it is
Nose length and wheel size both count, but the fastest way to make one car read differently from another is the line along the top. Keep it flat and long from the windscreen to the rear and you have an estate or a van. Slope it down toward the tail, let the rear of the body drop with it, and you have a sports car — which is mostly a low box with one long shallow curve over it. Raise it, square off the rear corner and make the wheels bigger, and you have a jeep or a small off-roader. Same two circles underneath every time; the roof arc and where the body ends are doing all of the work.
A shadow puts the car on the road, not shading
Two flat shapes, both of them quick. The first is the contact shadow: a small dark pool right under each visible wheel, against the tyre and no wider than it — that is where the weight goes. The second is the cast shadow, a longer soft shape running back from under the car along the road line, always on the same side as your light. Keep both flat, with no gradient and no smudging, and then leave the car itself alone apart from maybe darkening one side of the body. A drawing with a clear contact shadow and no shading at all reads as solid more often than a carefully shaded one sitting on nothing.
Build three cars from the same base before you move on
Draw the two wheels once, then draw three bodies over them — a low sports shape, a tall van, and a truck with its cab cut off from the load bed. It takes a quarter of an hour and it teaches more than three separate tutorials, because you will see the wheels stay exactly where they were and only the box changes. It is also why the easy vehicles further up this page are ordered the way they are: truck, bus, train, bicycle and motorcycle are all edits to the same base, and those edits are far smaller than they look from the outside.
Car Drawing FAQ
What is the easiest way to draw a car?
Two wheels first, both at their finished size and sitting on a light line for the road, then one low box lying across them, then the nose and the tail, then the windows, lights and wheel arches. Five stages, and the first two carry the whole drawing — if the wheels are the right size and in the right places, most other mistakes still look like a car, and if they are not, nothing you add afterwards will fix it. Starting from the wheels instead of the outline of the body is the single change that turns a frustrating drawing into a five-minute one.
How do you draw a simple car in a few minutes?
Keep the box a plain rectangle instead of a curved one, skip the windows and the lights, and draw the wheels as two clean circles with a shallow arch over each. What you should not simplify is the proportion: the wheels still want to be about a third of the total height, with their centres at roughly a quarter and three quarters of the length. That takes two minutes to lay in, and it is the difference between a drawing that reads as a car and one that reads as a loaf. Add a single curved line along the flank if you want it to look like a car rather than a diagram.
How do you draw a truck that doesn't look like a long car?
Cut the body into two boxes and leave a visible gap between them. The cab sits over the front wheel, with the windscreen slanted back and a flat vertical face at the very front; the trailer or load bed is longer, slightly taller, and dead level along its lower edge. Then make the wheels noticeably bigger than a car's and put a second pair at the back of the trailer. A bonneted truck and a cab-over are the same drawing with the cab slid forwards or backwards along the chassis, so one sketch gives you both — which is also how you get to a fire truck or a monster truck, by stretching the chassis and exaggerating the wheels.
Why does my bus keep looking like a van?
Usually the windows and the overhangs. A van has a bonnet, a windscreen that slopes back, and relatively small areas of glass; a bus has an almost vertical front face, a roof line running flat and level from one end to the other, and glazing that fills most of the upper half in evenly spaced divisions. Push the wheels out toward the corners and shorten the overhangs, and a long body stops looking like it is about to tip. If it still reads as a van, the roof is normally the culprit — flatten it and run it all the way to both ends.
How is drawing a train different from drawing a bus?
The bus is one long box with a vertical front; the train is the same box with a wedge at the front — slope the roof line down into the nose instead of cutting it off square, and round the lower edge of that nose back toward the track. The wheels are smaller and there are more of them, and they want a rail line underneath, because a train without one reads as a bus that has lost its windows. A steam train is close to being a different drawing altogether: a cylindrical boiler along the top, a chimney near the front, a cab at the back, and three large wheels under the boiler with a small pair under the cab.