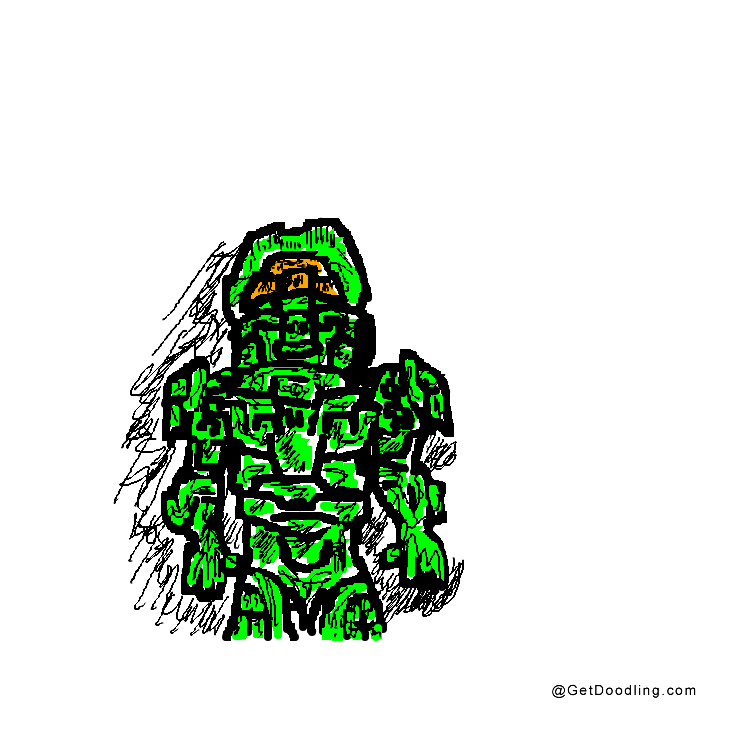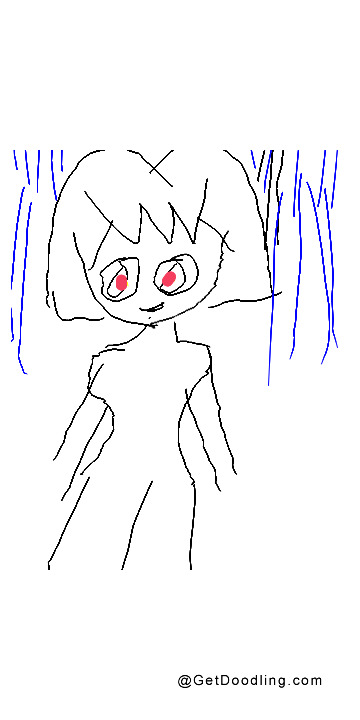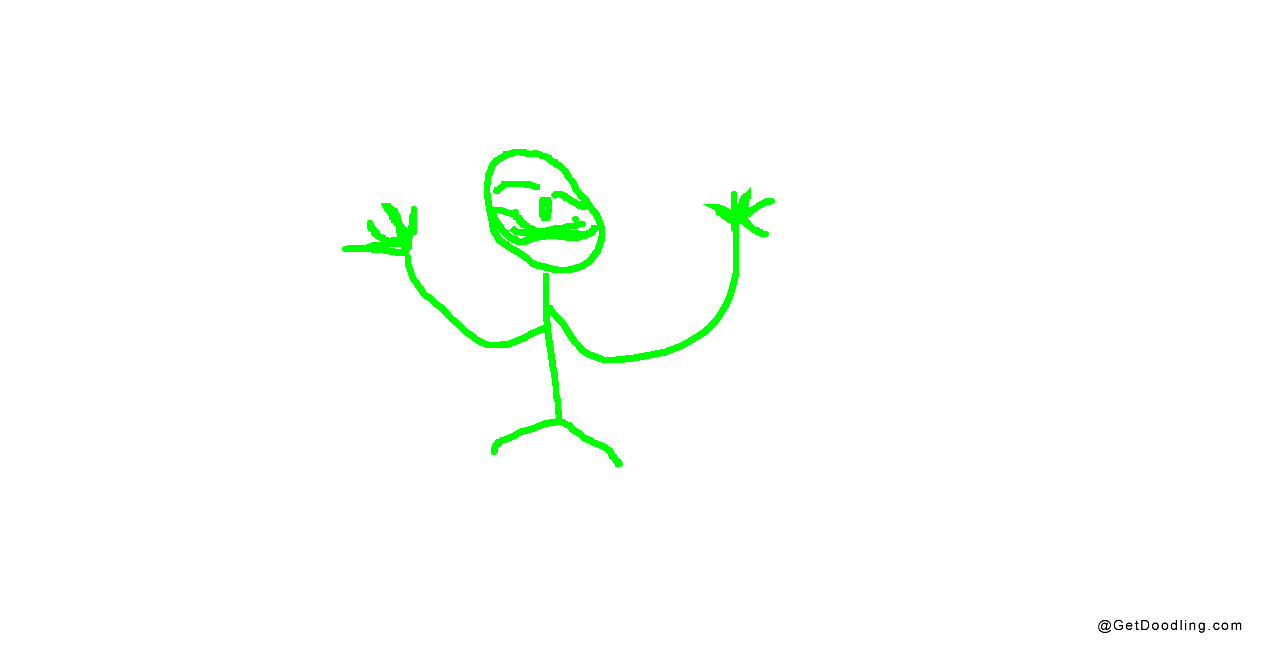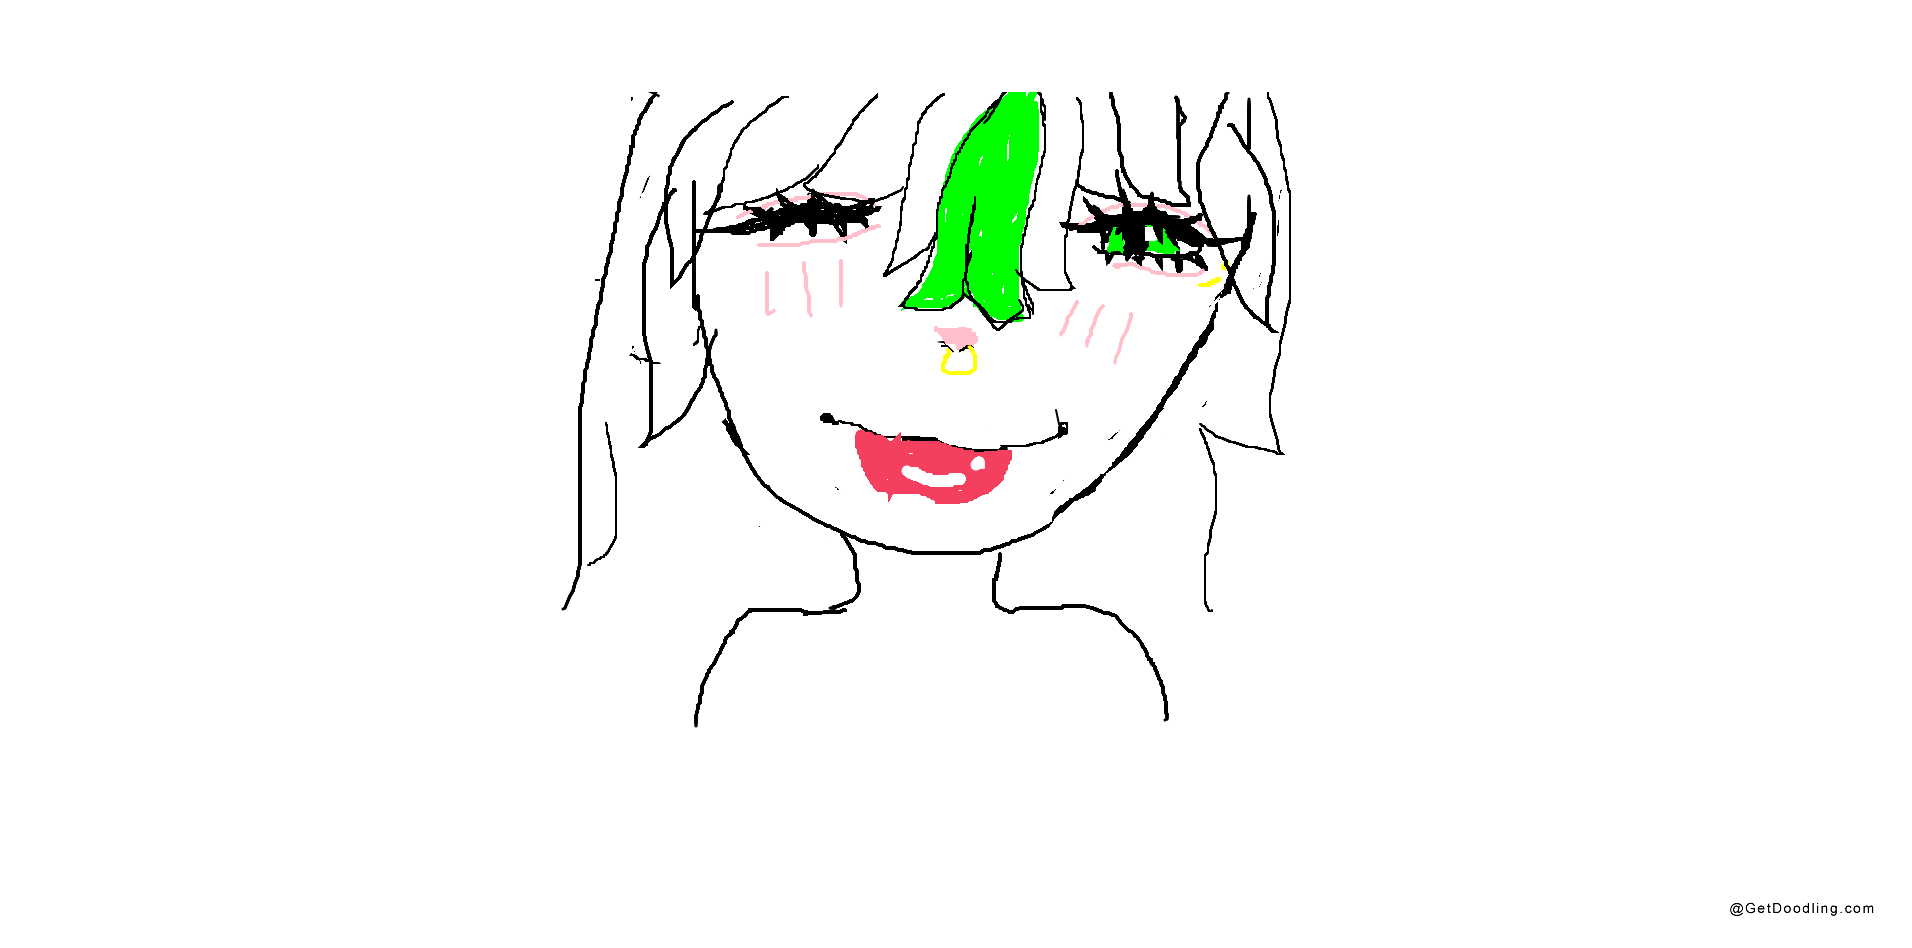
Person Drawing
Person drawing starts with a single measurement — the head — and every other decision on the page follows from it.
Person drawing has a reputation as the hardest subject in sketching, and the reputation is earned. A house that comes out a little crooked still reads as a house, and a car with the roof too low still reads as a car, but a person whose shoulders sit too narrow or whose head is a fifth too large reads as wrong immediately. The viewer has been looking at people since the day they were born, so they know the proportions by heart even when they could not draw them themselves.
That is why so many people plateau at the same point. They decide the problem is line quality and go hunting for a steadier hand, when the error is structural: the parts are the right shape at the wrong size, or the right size at the wrong height. Nothing about person drawing is more useful to accept early than this — fix the structure and even a shaky line reads as a person, while a flawless line laid over bad proportions never will.
The fix is one habit: measure in heads. Draw the head first, decide how tall it is on your page, then build the rest of the body out of that unit. An adult standing figure runs about seven and a half to eight heads tall, a child around four to six, and a cartoon character anywhere from two to four. Once that ladder is marked out, the waist, hips and knees stop being guesses, and person drawing becomes a job of stacking known distances rather than an act of faith.
The order you work in matters as much as the measuring. Block the whole figure first — head, spine, shoulder line, hip line — then hang the limbs off it, and place the face last. Drawing the eyes and mouth early is the most common reason a beginner's person drawing ends up looking like a doll: the features get drawn at a comfortable size, the skull is then forced to grow around them, and the body is dragged out of scale along with it.
Pose comes out of two lines rather than any detail. The spine line gives you the lean, and the tilt between the shoulder line and the hip line tells you where the weight is. In a relaxed standing figure the shoulders tip one way and the hips the other, and that small opposition is most of what makes a drawing look like a person standing rather than a diagram — a figure standing bolt upright with both lines level will read as stiff no matter how carefully the feet are drawn.
Watch for four mistakes that turn up in nearly every first attempt: a head drawn too large, shoulders drawn too narrow, hands hidden behind the back because they are fiddly, and legs starting from the waist instead of the hip. Every one of them is a measurement error rather than a drawing error, which is good news — a measuring habit is quicker to fix than a lifetime of wobbly lines.
You can practise all of this without any setup. GetDoodling opens straight onto a blank canvas with no sign-up, works in any current browser, and lets you download the result or publish it to the public gallery when you want a second pair of eyes on it. Start on a large canvas and zoom in for the face — person drawing rewards the room to measure, and the head unit is far easier to keep honest when you are not fighting a cramped workspace.
How to Draw a Person in 5 Steps
Five steps, in this order — each one locks down a measurement the next step depends on, so resist skipping ahead to the face.
-
Step 1: Draw the Head and Fix Your Head Unit
Draw one oval, slightly narrower at the chin than at the crown, and stop there. No hair, no ears, no features yet. Mark the top of the skull and the bottom of the chin, measure that distance with your pencil and then hold it — that span is your head unit, and every other measurement in the figure comes out of it. Keep the outline light: you will draw over it, and a dark head outline tends to pull the rest of the figure out of proportion, because you will unconsciously draw to the line you can already see instead of to the measurement you worked out.
-
Step 2: Stack the Body in Head Heights
Now mark that head unit down the page — seven and a half times for a realistic adult, five for a child, two to four for a cartoon character — and let the ladder decide where everything belongs. The waist falls at roughly the third head, the hips near the fourth, the knees at about the sixth, and the feet close out the last unit. Watching those marks go down is the moment person drawing stops feeling random, because a figure of the wrong height gives itself away long before you get anywhere near the face, and no amount of careful detail repairs it afterwards. Keep the ticks small and light and correct them now rather than later — nudging a mark on the page costs nothing, while moving a finished hip costs you the whole redraw.
-
Step 3: Block In the Shoulders and Hips
Draw the shoulder line and the hip line as two separate strokes, about two and a half head units apart, and then tilt them against each other — shoulders tipping one way, hips the other. That small opposition is what makes a figure look like it is standing under its own weight instead of standing to attention, and it is the single change that separates a stiff person drawing from a relaxed one. Set the shoulder width at roughly two and a half head units and the hip width a little narrower, then join the two lines with a shallow box for the ribcage and a second, shorter box for the pelvis. You now have a torso made of two blocks with a soft waist between them, which is far easier to build on than an outline traced from a photograph.
-
Step 4: Attach the Arms and Legs
Work outward from the joints rather than from the silhouette. Mark the shoulder joints at the ends of the shoulder line, drop the elbows to roughly the level of the waist, and let the wrists finish near the top of the thigh — an arm hanging naturally is much shorter than most beginners expect, and drawing it longer is the second most common proportion error after an oversized head. Push the hips off the pelvis block, put the knees at about the sixth head mark, and finish the ankles just above the last one. Add a small circle at every joint before you connect them, so the elbow and knee stay in place while the lines around them change.
-
Step 5: Place the Face Last
Now go back to the head you drew in step one and divide it before you decorate it. The eyes sit on the halfway line, not near the top of the skull, and that surprise alone fixes more portrait drawings than any amount of practice on eyelashes. The bottom of the ear lines up with the base of the nose, the nose sits about halfway between the eyes and the chin, and the mouth falls between the nose and the chin. Mark those four guide lines first, then draw the features to fit the gaps they create. When the whole figure reads correctly in silence — no eyes, no mouth, just proportion — you have done the hard part of person drawing, and everything after it is decoration.
Easy People to Draw
If the measured version above looks like a lot of work, that is the honest state of the subject — but there is a shortcut, and it is not "draw faster". Ease comes from shortening the ruler. Every variation below is the same seven-and-a-half-head figure with the unit changed, the details dropped, or the pose simplified, and each one is a legitimate finished drawing rather than a practice exercise.
Easy Person Drawing
Buy your ease in height, not in outline. Take the figure from seven and a half heads down to five, keep the shoulder-to-hip opposition from step three, and skip the fingers entirely — a mitten shape with one thumb reads as a hand at almost any size. Fewer proportions to hold means fewer places to go wrong, and a short figure with a confident pose looks far more finished than a correct one drawn with a hesitant line.
Cartoon Person Drawing
Drop the unit to three heads, keep the eyes on the halfway line, and make them large. Cartoon proportion works by keeping the head near adult size while compressing everything below it, which is why big shoes and oversized hands feel right rather than wrong — the extremities stay scaled to the head while the torso shrinks. Ease also comes from what you leave out: no knees, no wrists, no neck.
How to Draw People in a Group
Draw the ground line first, then a single horizontal line for the heads of everyone standing on the same plane. That one line does almost all the work of a crowd drawing, because the fastest way to ruin a group is to give each figure its own eye level. Nearer figures sit lower on the page and get a larger head unit; figures further back shrink toward the same line. Overlap them generously — bodies that touch read as a group, bodies that politely avoid each other read as a row of cut-outs.
Drawing People in Different Poses
The pose lives in the spine line, and everything else follows it. Draw one long curve for the spine, a tilted line for the shoulders, and a second, opposite tilt for the hips, then check that the head sits directly above whichever foot is carrying the weight. Sitting poses come out of the same logic with the hip line moved down and the knees raised to about hip height; reaching poses come out of lengthening the spine curve until the ribcage box tilts as well.
Human Figure Drawing
When you want the figure to sit inside a scene rather than stand alone in the middle of a page, tighten the measuring and drop the cartoon rounding. Keep the head unit honest, keep the two torso blocks distinct instead of merging them into one outline, and shade the ribcage and pelvis as two separate volumes so the waist reads as a transition rather than a waistline. The difference between this and the easy version is not skill, it is how many of the marks you decided to keep.
Stick Figure Drawing
The stick figure gets dismissed as a beginner's crutch, but it is really a measuring instrument: one line for the spine, one for the shoulders, one for the hips, and single strokes for each limb with a dot at every joint. Draw the stick figure first on every person drawing you make and the proportions take care of themselves. The mistake is stopping there — the stick is the scaffold, not the building.
None of these versions needs a special tool. GetDoodling opens on a blank canvas without a sign-up, so you can block in the figure on a large canvas and zoom straight into the face when it is time to place the features without redrawing anything. Download the result when it is done, or publish it to the public gallery if you want to see how the proportions hold up next to other people's work — a figure that reads correctly at thumbnail size is a figure that reads correctly.
Person Drawing Tips
Measure First, Draw Second
The habit that separates reliable person drawing from lucky person drawing is measuring before committing. Hold your pencil up, arm straight, and compare the head you drew against the shoulders, the torso, the legs — or on a canvas, zoom out until the whole figure fits and judge the ratios at thumbnail size. Errors that are invisible at full zoom become obvious the moment the figure shrinks, and a wrong head-to-body ratio gets more expensive to fix with every line you add on top of it.
Start With the Pose, Not the Outline
One curved line down the spine and a second one across the shoulders will tell you more about a figure than a carefully traced silhouette ever will. Draw those two strokes first and keep them loose; the body outline is the last thing that should appear, because an outline drawn early locks the pose before you have decided what the person is doing. If the action line is right, the outline almost draws itself around it.
Leave the Hair Until the Skull Is Right
Hair is the most forgiving thing on a person and also the most effective at hiding a structural mistake. A fringe dropped over a wide forehead, a ponytail covering a badly set ear — the problem survives under it, and you discover it only after the face is finished. Draw the bald skull, place the ears against the eye and nose lines, and only then decide on the hairstyle. Every hairline you draw afterwards will sit correctly, because it is sitting on something true.
Draw Hands as Blocks Before Fingers
Hands get avoided because they get drawn finger-first. Start instead with a rounded block for the palm, one wedge for the thumb, and four tapering tubes that stop at the first knuckle — at most figure sizes on a page, that is the whole hand, and fingers drawn past that point turn into sausages. When a hand is not doing anything specific, keep it simple and slightly closed rather than splayed open, which is both easier to draw and more natural to look at.
Fix One Wrong Mark Instead of Starting Over
When a figure looks wrong, resist the urge to wipe the canvas. Cover the drawing with your hand, section by section, and find the single line that is out of place — nine times out of ten it is one measurement rather than the whole pose. Correct that one mark and the rest of the figure usually falls back into place. Redrawing from scratch also redraws the same error, which is how a person drawing session turns into an hour of the same mistake.
Person Drawing FAQ
What Is the First Thing to Learn in Person Drawing?
The head unit. Draw one head, decide how tall it is, and use that distance as your ruler for everything else — this single habit prevents more bad figures than any amount of practice on faces. Person drawing does not get easier because your lines get steadier; it gets easier because the parts start agreeing with each other on size, and the head unit is what makes them agree.
How Many Heads Tall Should a Person Be?
An adult standing figure runs about seven and a half to eight heads tall, a child around five to six, a cartoon character two to four. Those numbers are starting points rather than rules — real people vary, and stylised figures break them on purpose — but they give you a scale to check against. If your figure comes out at five heads while you were aiming for a realistic adult, you have found the error before it cost you the drawing.
Why Do My Drawings of People Look Stiff?
Usually because the shoulders and hips are level. In a relaxed standing figure the shoulder line tips one way and the hip line the other, and that small opposition is most of what reads as weight and balance. A figure with both lines perfectly horizontal looks like it is standing at attention, and no amount of careful detail fixes that impression. Tilt the two lines slightly against each other and the whole pose relaxes.
Do You Need to Learn Anatomy to Draw People?
Not to start, and not for the style most people want. Anatomy explains why the body moves the way it does, but proportion explains why the drawing looks like a person — and proportion comes first, is quicker to learn, and is what a viewer notices when it is missing. Learn the head unit, the shoulder and hip lines, and where the joints fall. When those are automatic, anatomy becomes an upgrade rather than a prerequisite.
How Do You Draw a Person Without a Reference?
By carrying the measuring system in your head instead of the subject. Once you know that the waist sits around the third head and the knees around the sixth, a figure can be built from a blank page — you are not remembering a specific person, you are working from proportions you have practised. The first attempts will look generic, which is exactly what a correct structure looks like before character is added to it.