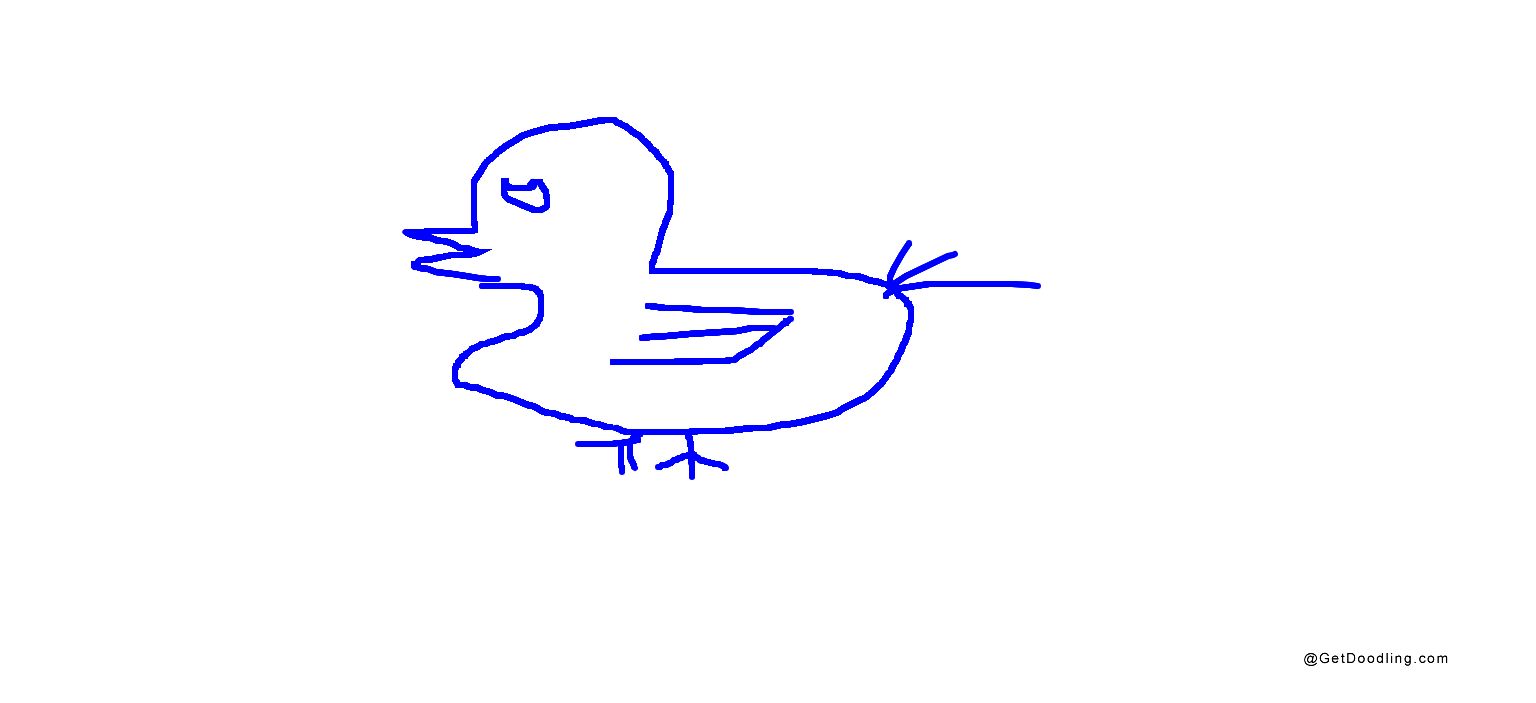
Bird Drawing
How to draw a bird — a simple songbird, a flying bird or an owl — plus a free board to practise on right now.
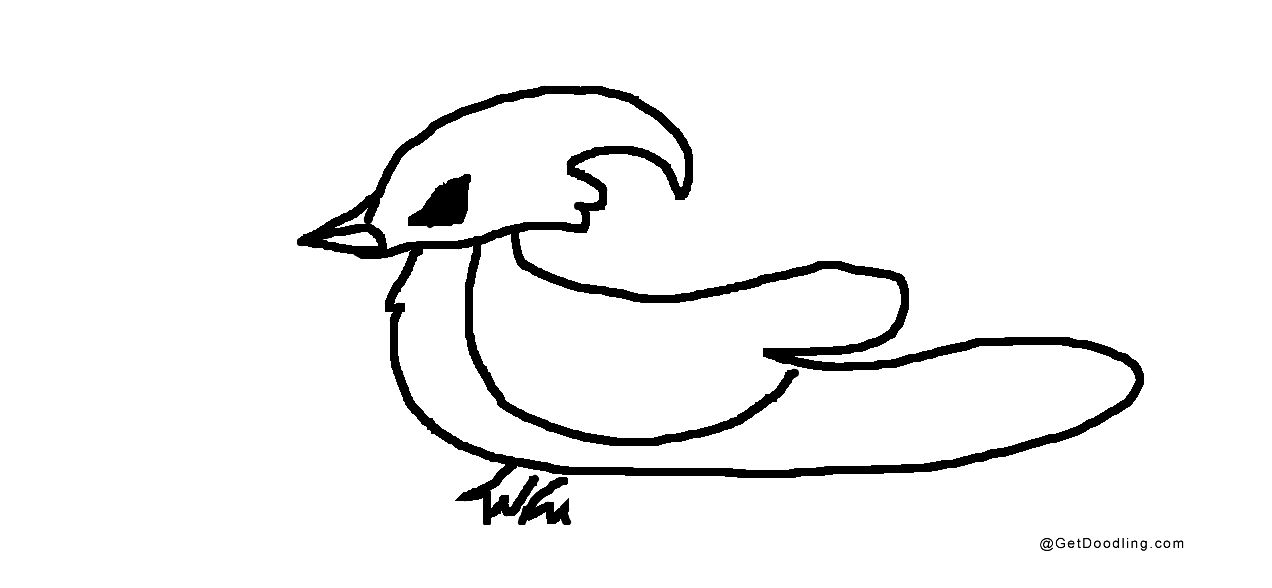
A bird is one of the easiest animals to make recognisable, because the whole thing comes down to two shapes: an egg for the body, and a small circle sitting on the pointed end of that egg for the head. There are no legs to balance and no face to turn towards you. An egg, a head and a beak already read as a bird, and everything after that is detail.
The mistake almost everyone makes is stacking two circles one on top of the other, the way you would draw a snowman. A bird is not two balls. It is one smooth line running from the crown of the head down the back to the tip of the tail, with no waist where the head joins the body. Fix that single line and the drawing stops looking assembled and starts looking like something alive.
What decides which bird you have drawn is the beak and the tail, not the body. The same egg becomes: an owl with a short hooked beak and a flat face; a parrot with a large curved beak and a long tail; a hummingbird with a needle-thin beak; a duck with a wide flat bill; a robin or a sparrow with a small pointed beak and a modest tail. A penguin is that same egg standing upright, with flipper-shaped wings and no visible neck at all. So work in that order — body, beak, then feathers.
Standing and flying are two different drawings. A perched bird has an upright egg tipped slightly forward, two thin legs coming out from the lower back of the body, and toes gripping a line. A bird in flight has a body that is almost horizontal, and the wings are the whole drawing. Wings are not two flat fans: each one comes out of the shoulder as a short arm, and the flight feathers hang off the back of that arm, getting longer towards the tip. There are three basic positions — raised into a V, level, and pressed down — and the arm stays the same shape in all three. A flying bird drawing usually fails because the wings were built outwards from the body instead of outwards from a shoulder.
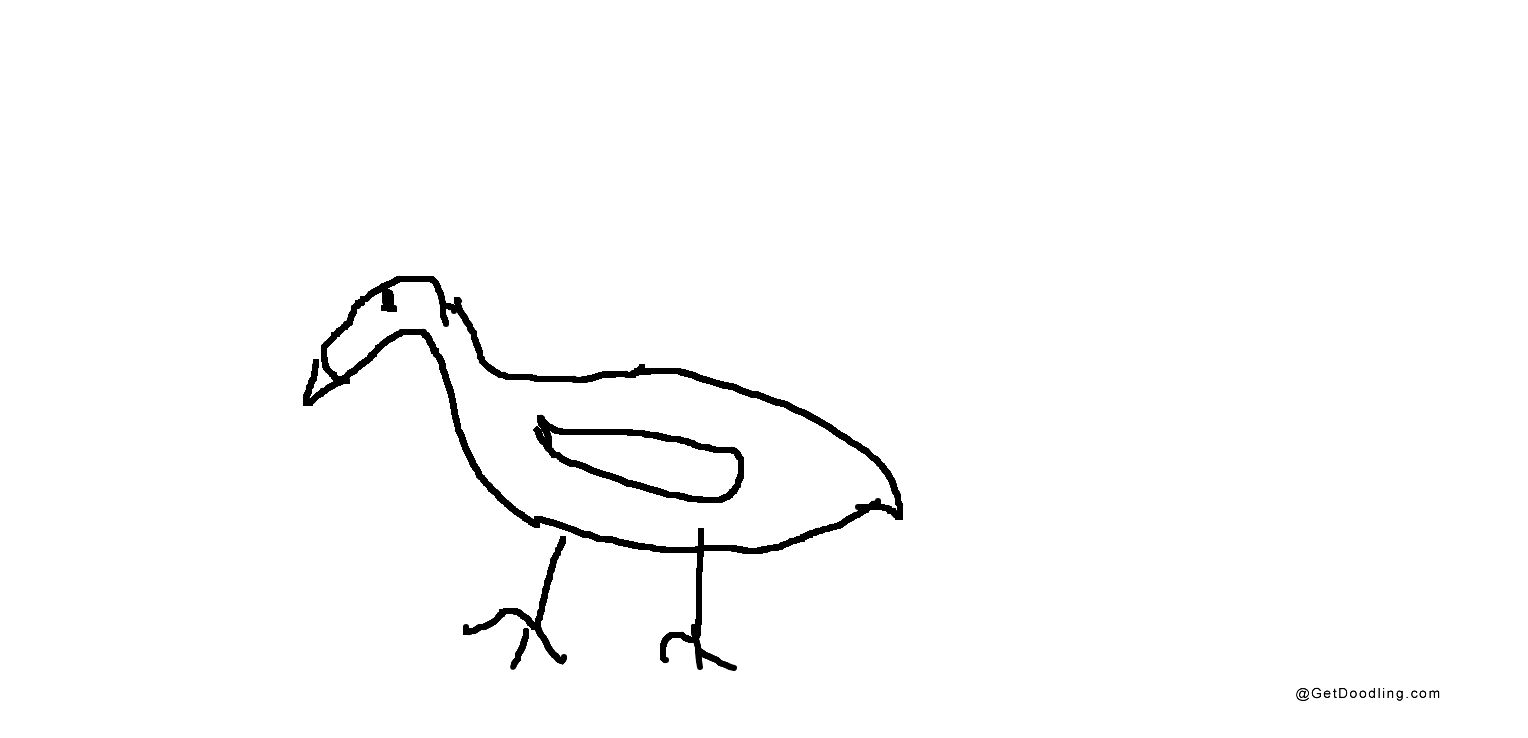
For an easy bird drawing, keep it to five things: the egg, the head, a small pointed beak, a tail and one eye. No legs, no wings, no shading. A simple bird drawing and a cute bird drawing are the same shapes with the head made larger and the beak shortened — the rounder the head and the lower the eye sits, the cuter it reads, which is the whole recipe behind a kawaii bird drawing too. A cartoon bird drawing pushes it further, with a circular body and an eye larger than the head should allow. A realistic bird drawing goes the other way: grouped feathers instead of outlines, a wing with visible layers, a highlight in the eye, scaled feet. A bird sketch usually means pencil — short strokes and cross-hatching rather than continuous outlines — and a line drawing is the same shape with all the shading left out.
You do not need anything to start. The board on this page opens in your browser, and you can draw with a mouse, a finger or a stylus. There are ten brush sizes and ten colours, and white works as an eraser on the white canvas — handy the first time a wing ends up on the wrong side. When your bird is finished, save it to your device as a PNG, or share it to the gallery so other people can see it.
Below are the steps for a simple bird, the things that make a bird sketch look better, and answers to the questions people ask most.
How to Draw a Bird in 5 Steps
-
Start with an upright egg
Put a tall oval on the page, tilted very slightly to one side. Taller than it is wide — a bird's body is not a ball, and the more upright the egg, the more the finished bird looks perched rather than sitting down. Keep the line light, because everything else is measured from this shape.
-
Add the head with one smooth back line
A small circle on the pointed top of the egg for the head, about a third of the body's width — then join the two with a single curve running from the crown of the head down the back. Do not draw a complete circle for the head and a complete oval for the body and let them overlap; let them share that one line instead. This is the step that decides whether you end up with a bird or with a snowman.
-
Add the beak and the eye
A short triangle at the front of the head for the beak — its length and shape decide which bird this is, so settle that now rather than later. The eye goes just behind and slightly above the point where the beak meets the head. One eye only, always: a bird seen from the side never shows two, and a second eye is the fastest way to make the whole drawing look wrong. Check the gap between the beak and the eye before you move on — a wide gap makes the head look empty and startled, a tight one makes it look wise. That single measurement is most of the difference between an owl and a songbird.
-
Add the wing and the tail
For a perched bird a folded wing is enough: a soft teardrop lying along the middle of the body, its point towards the tail, sitting slightly below the spine. For the tail, run two lines back and slightly down from the lower half of the egg and join them at the end — short and square for a sparrow, long and narrow for a parrot, forked for a swallow. Keep the tail at least as long as the head is wide. A stubby tail is the second most common reason a finished bird looks wrong.
-
Add the legs, then clean up the outline
Two thin lines from the lower back of the body, clearly separated, then a short line under each for the foot and two or three small strokes for the toes. Draw them thinner than feels right — bird legs are far thinner than most people draw them. Finish by erasing the arcs of the original egg and head circle that are now inside the bird, and softening anything that leaves a bump on the outline. What you want left is one continuous silhouette with no seams showing.
Bird Drawing Tips
One smooth back, no waist
If your bird looks like a snowman, the head and the body were drawn as two circles that overlap. Join them with a single line running from the crown of the head, down the back, to the tip of the tail, and let the two shapes share it. Birds have no neck to speak of — the head grows straight out of the shoulders, so the back is one curve rather than two stacked balloons.
The beak picks the bird
Every bird starts from the same egg, which means the beak does all the identifying. A short hook for an owl, a large downward curve for a parrot, a needle for a hummingbird, a wide flat bill for a duck, a small triangle for a robin. Draw the same body five times with those five beaks and you have five birds, without changing the body at all.
Tail length beats feather detail
Beginners add feathers and leave the tail short. Turn that around. A long tail reads as a parrot, a forked one as a swallow, a short square one as a sparrow — and the feathers on the body can stay as simple as you like. Measure the tail against the head rather than against your patience.
Wings come out of a shoulder
For a bird in flight, start each wing at the shoulder and treat it as a short arm; the flight feathers then hang off the back of that arm and get longer towards the tip. Drawing wings as two flat fans attached to the sides of the body is why flying bird drawings so often look like paper aeroplanes. The arm keeps its shape whether the wings are raised, level or pressed down — only the feathers change.
Draw the same egg a second time
Do not start a new bird from scratch. Draw the identical egg, head and back line, then change only the beak and the tail. Owls, ducks, penguins and parrots are all variations of the shape already on your page, and doing three quick ones teaches you more than drawing a single bird perfectly once. Penguins are the easiest of the set: an upright egg, no visible neck, flipper-shaped wings, finished in two minutes.
Bird Drawing FAQ
How do you draw a bird step by step?
An upright egg first, then a small circle on top for the head, joined to the body with one smooth line down the back — no waist where they meet. Add a short triangle for the beak and one eye just behind it, then a folded wing, then a tail, then two thin legs. Five stages, in that order, and nothing has to be moved once the silhouette is right. Leave the legs until last: they are the easiest thing to place once the body is settled, and the hardest thing to fix if the body is still wrong.
How do you draw a simple bird?
Body, head, beak, tail, one eye — and stop there. A simple bird drawing and an easy bird drawing are the same five shapes, and neither needs legs, wings or shading. For a cute bird drawing, make the head larger, shorten the beak and drop the eye slightly lower on the head; the rounder and lower it sits, the cuter it reads. A kawaii bird drawing is that same shape pushed flatter, with an oversized eye and no wing at all, and a cartoon bird drawing goes further again — a circular body and an eye bigger than the head should allow. The body barely changes between birds, either: swap the beak for a wide flat bill and the same drawing becomes a duck, and leave the neck out altogether and it becomes a penguin.
How do you draw a parrot?
A parrot is the basic bird stretched: a longer body, a much bigger beak and a long tail. Start from the same upright egg, then draw the beak as a deep downward curve that hooks back towards the chest — thick rather than pointed, and clearly the heaviest shape on the head. Then a narrow tail at least as long as the body is tall, and a folded wing with three or four long feathers suggested along its lower edge. Keep the head small relative to that beak: parrots look heavy-beaked, not big-headed. A large curved beak and a long tail are the whole recipe — the same body with a needle beak becomes a hummingbird instead.
How do you draw an owl?
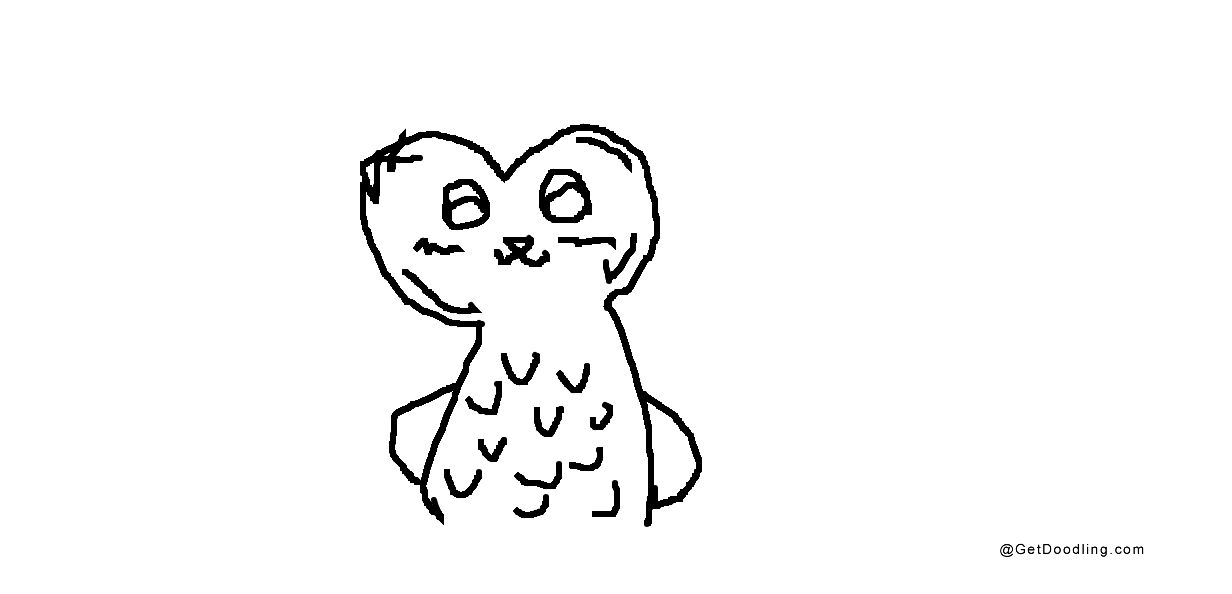
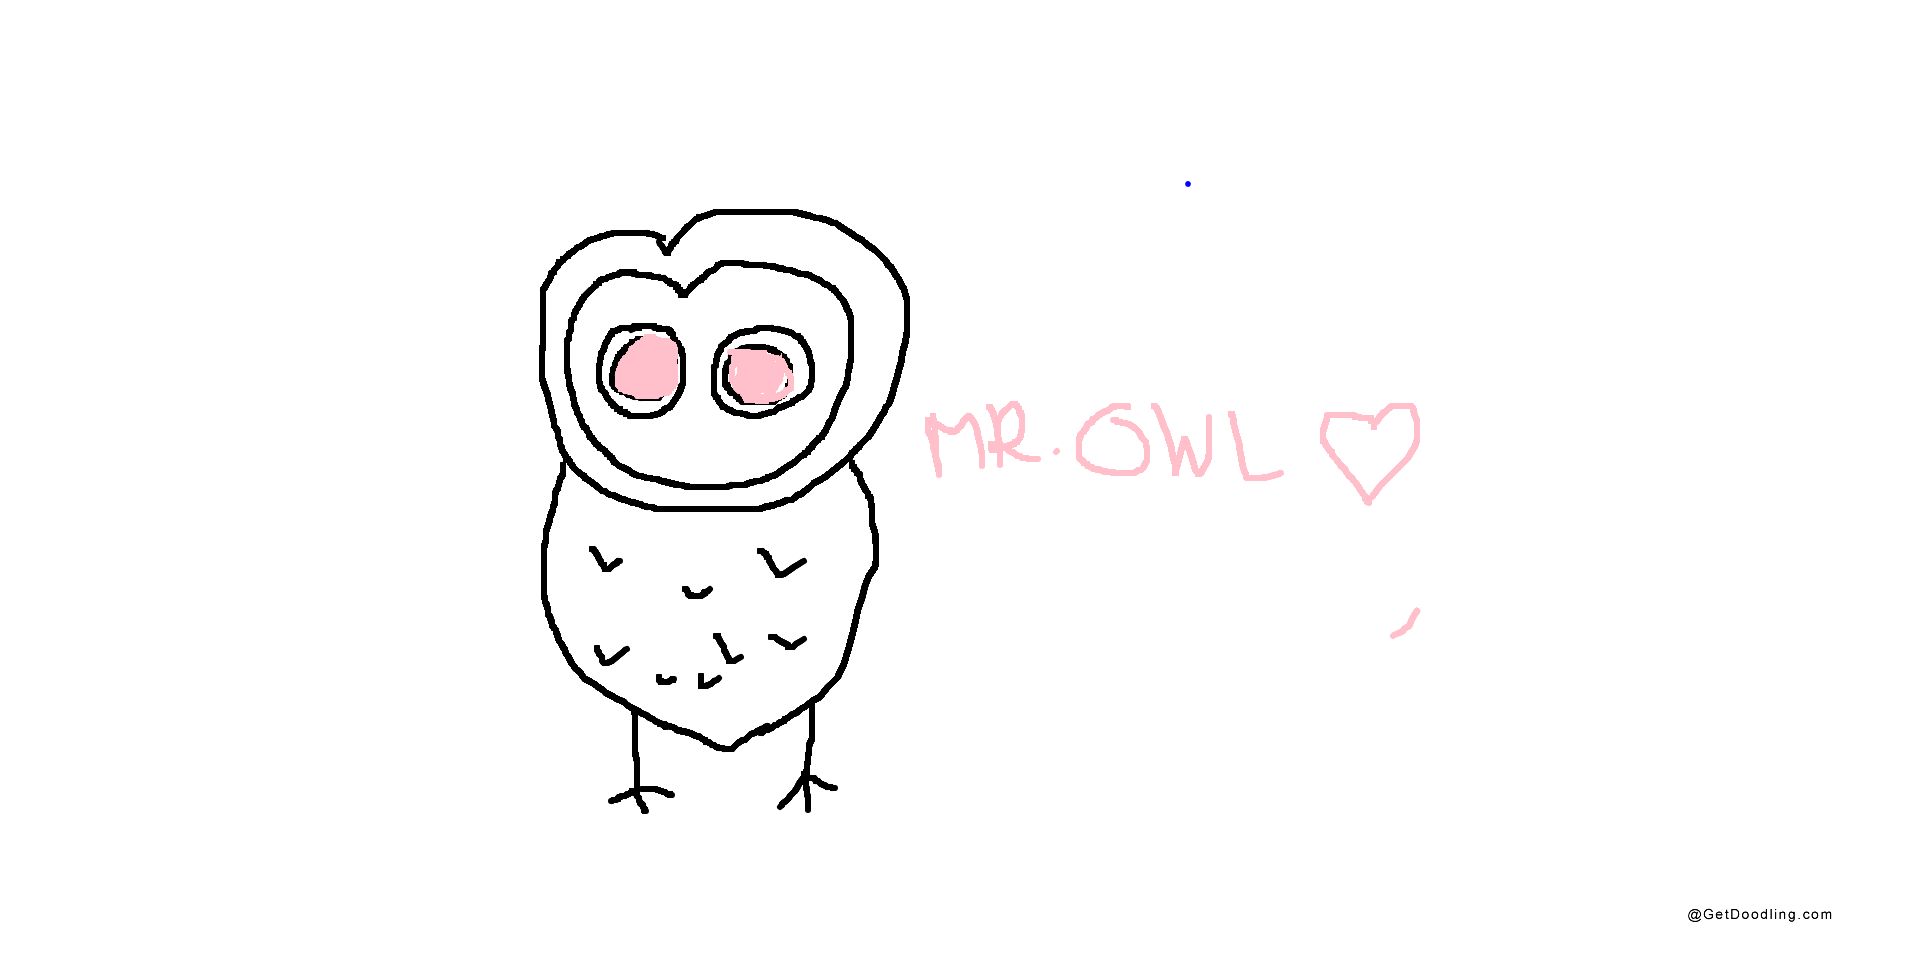
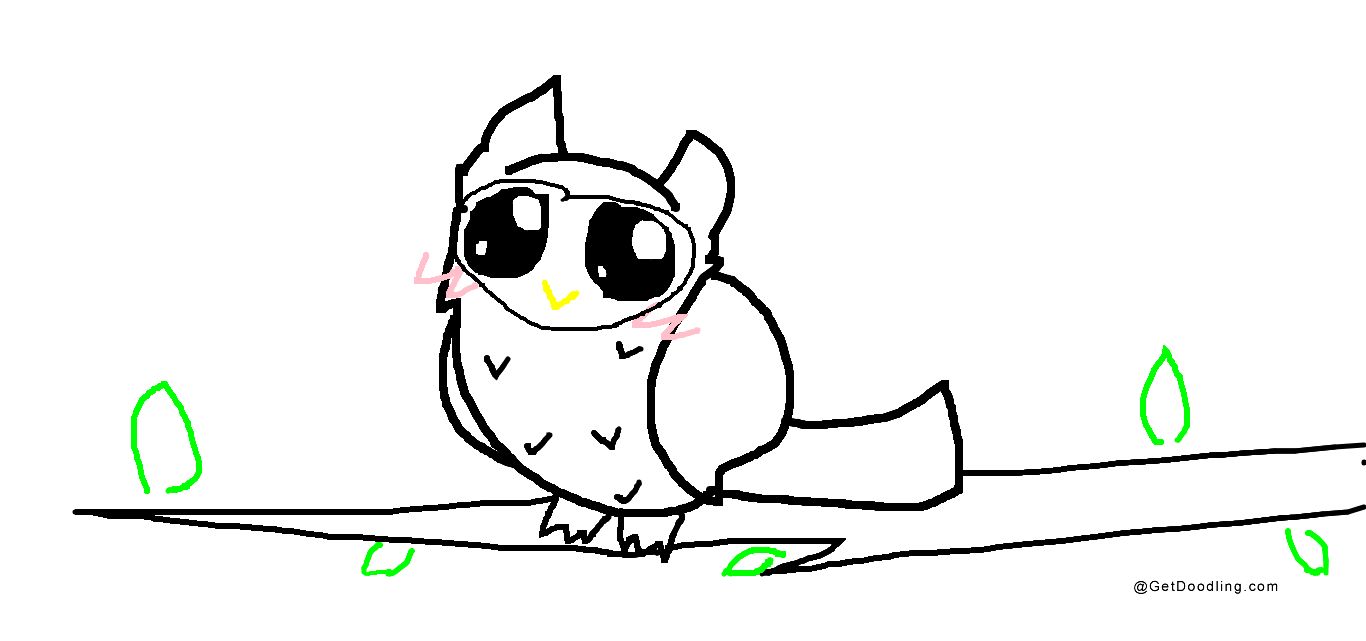
An owl is the bird with the neck taken out and the face widened. Draw a broader egg than a songbird's — closer to a barrel — then sit the head straight on top of it with no narrowing in between at all. The face is a flat disc rather than a pointed head: two large circles for the eyes, set close together and low, with a short hooked beak squeezed between them. Add two small triangles for the ear tufts if you want a horned owl, and keep the tail short, because owls look compact. The eyes do most of the work here — an owl with the eyes left small stops reading as an owl immediately.
How do you draw a bird in flight?
Tip the body from upright to almost horizontal first, so it lies along the page rather than standing up. Then build the wings from the shoulders, not from the sides: each wing is a short arm coming out of the shoulder, with the long flight feathers hanging off the back edge of that arm and getting longer towards the tip. Pick one of three positions — raised into a V, level, or pressed down — and keep both wings in the same one, otherwise the bird looks as though it is turning. Tuck the legs against the body and fan the tail out short. A flying bird drawing usually goes wrong because the wings were treated as two flat fans glued to the body, and a bird with flat fans looks like a paper aeroplane.